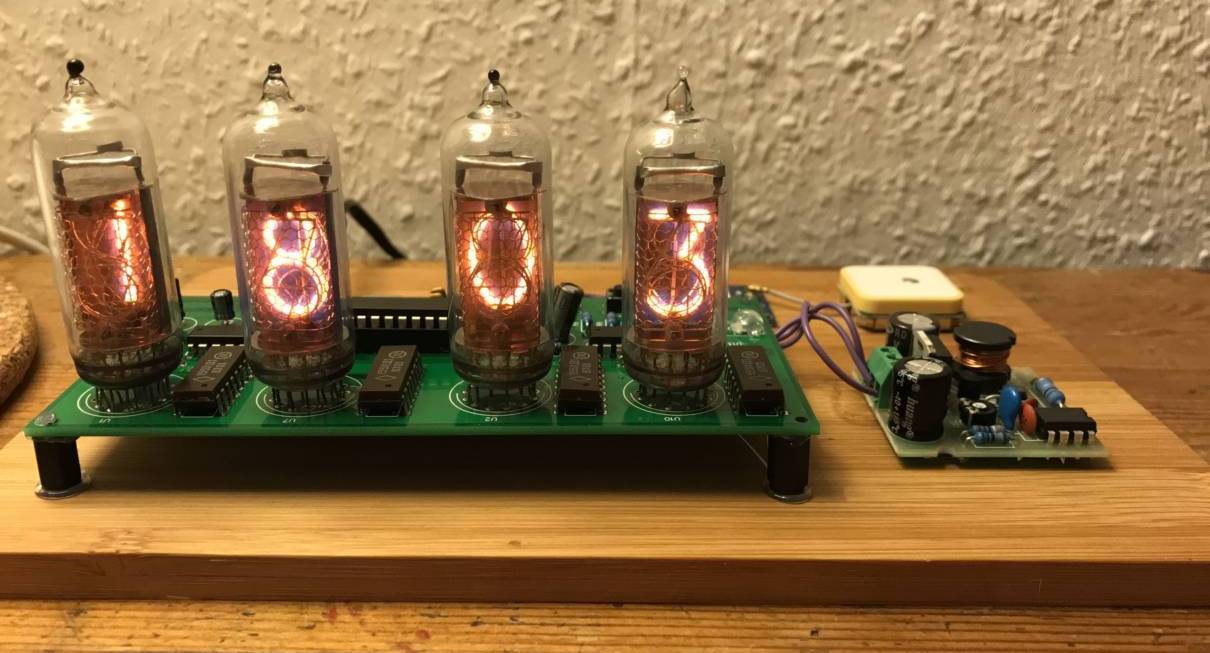
Arduino GPS Nixie Tube Clock
Building a clock with nixie tubes is a project that has been done to death already. A quick google search will yield thousands of variants put together by just as many different people. So even though it’s not the most original project, nixie tubes have such a cool look to them I had to make my own anyway. I think the warm glow always catches people’s eye with a look that is somehow both futuristic and retro at the same time.
There were a couple goals that I set for the project. Firstly, I wanted to design as much of the clock as I could. This was made pretty easy by the sheer amount of information available online. As I said, thousands of people have attempted this already and there is no shortage of documentation. The tubes themselves are salvaged IN-14 style tubes produced in the Soviet Union. They even have the CCCP logo printed on the backs of a couple that haven’t yet worn away.
I used the site EasyEDA to design the schematic and PCB board layout. I got the PCB fabricated from there as well and they turned out pretty nice. Although the minimum I could order was 6 so I got a few extras that I’m not sure what to do with. It was cool to design my own board and layout everything the way I wanted it. I had never done any CAD stuff before so it was a fun experience.
Another thing I really wanted for the clock was accurate timekeeping. I found that using the internal clock from the Arduino was pretty inaccurate as over time it would fluctuate for many different reasons. Another option was to use a real-time clock chip, like those in digital watches. But I decided against it because even watches can drift by a minute or two over several months. The final option, and the one I went with, was to use a GPS chip. Going with GPS means that the clock will always have exactly GMT time, as provided by the satellites. Which means I only have to adjust the hour instead of setting the whole time when resetting it. Of course, if you live somewhere strange, like Newfoundland with a half timezone, the minutes will still need to be adjusted too.
My board design is uploaded here if you'd like to take a look or get your own fabricated.
And the Arduino code is, as always, on my Github.
